This was tested on Agent Builder V6.3.2.
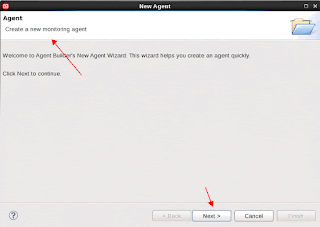
File -> New -> Agent
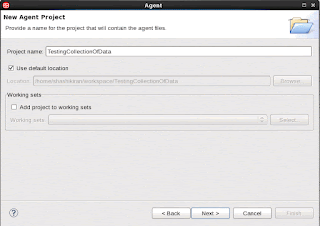
Choose O.S
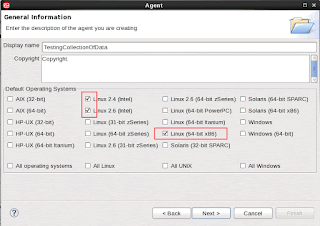
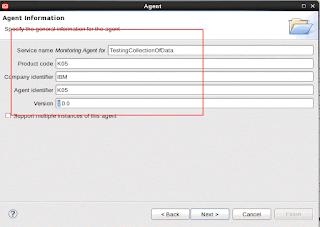
Accept Defaults:
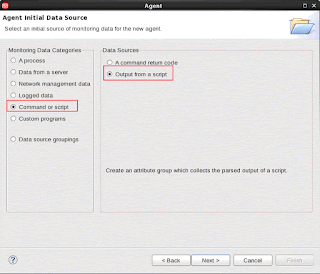
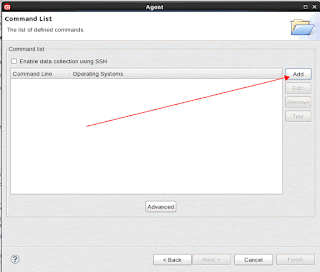
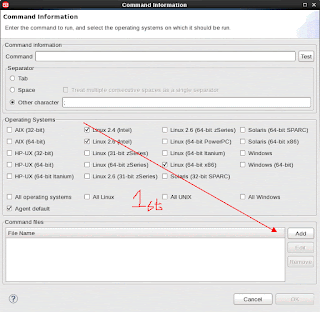
Choose the script you want to execute on your local Linux laptop server .
In my case it is a simple script :
[oc0650888602 ~]$ cat collectdata.sh
#!/bin/bash
echo "Appserver;192.168.1.1;8000;99"
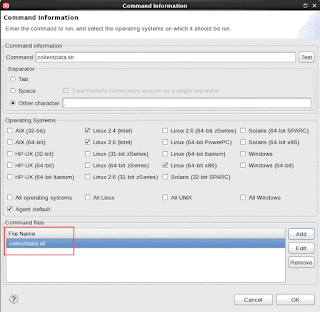
The others will get autofilled.
Click on Test on the upper right side.
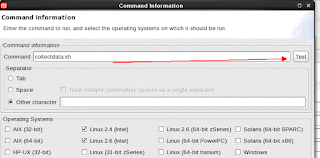
Click on Test -> and Start Agent,
The results should appear as shown.
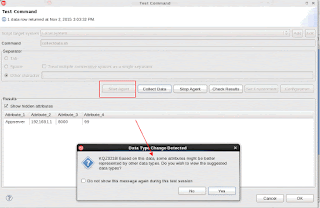
There is some informational self explanatory text -read it.
This tells that I have 4 attributes in the external file defined and 2 of them were strings ( while in fact the Agent Builder found it to be numerics - this has to be corrected )

Click on Check Results and a popup should appear.
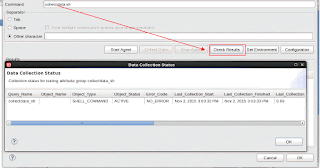
Click OK.
It should get you back to the main AB build panel.
Now, Click Next,
It goes back to the data sources which has the 4 automatically configured attributes listed by default names.
Select "Produces a single data row."
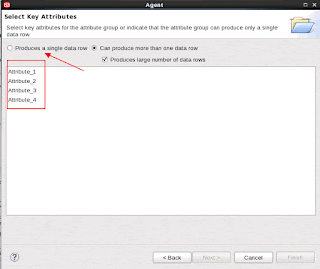
Change the data sources names.
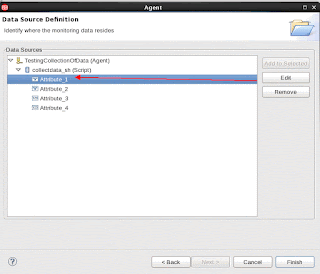
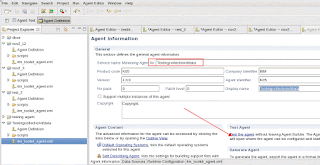
At this point :
Check the following :
- Did you run a test and check that the command is executing both command line and from the AB correctly.
- Go to Data Sources -> go to command Line panel at the bottom - select the script and then the Test button gets activated.
Click on Test and then see it works.
In my case - I have set the script to output based on semicolon as separators.
the script returns it based on semicolons and like wise the AB is configured to chop each section based on semicolons too.
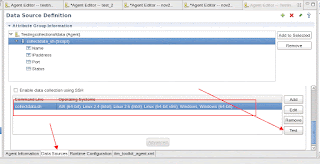
- Always work in the Agent definition tab, and not in the Agent Test tab.

- Is OSLC definitions defined ?

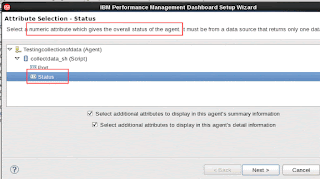
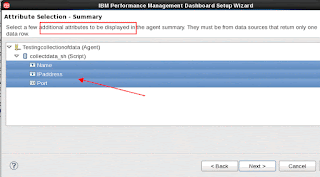
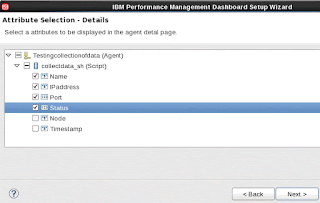
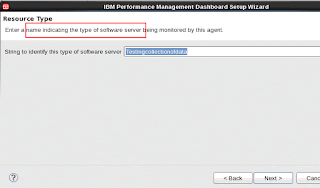
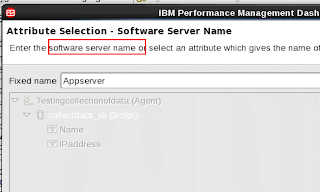
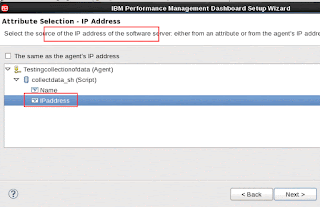
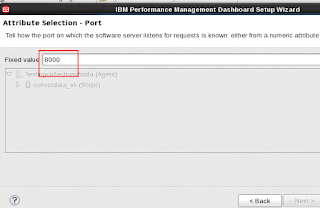
These are my values - Yours might differ.
Click Finish.
Go back to the Agent Information panel -
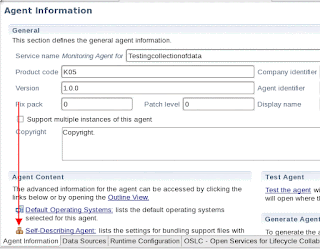
Check that there are no errors in the "Problems " section in the Eclipse IDE.
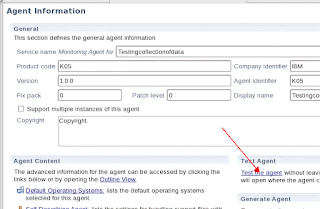
A new tab in Agent section should open up.
Click on the Green right arrow icon to start the agent .
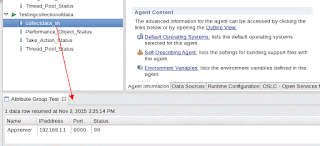
This now shows the correct results when the script was run on the local Linux server.
Shashi Kiran
No comments:
Post a Comment